
Projects are completely isolated workspaces. Each project has its own channels, editors, settings, and content plan. This helps you separate your work — for example, keep your own channels apart from partner ones, or manage several networks independently.
The first project is created automatically when you sign up, with a random name. You can rename it at any time.
All project actions start in the My Projects menu.
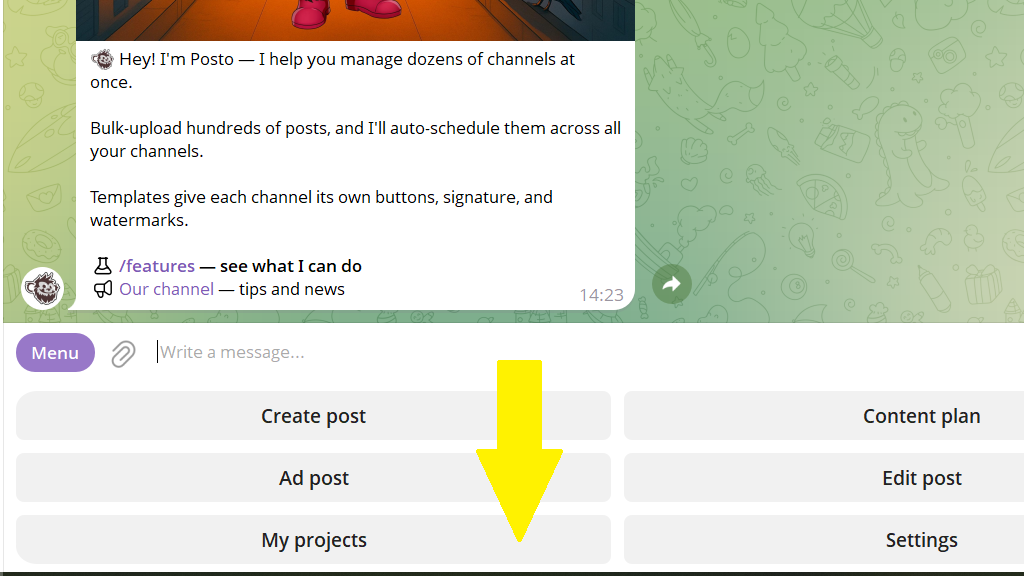
How to create a new project
1. My projects → Manage → New project.
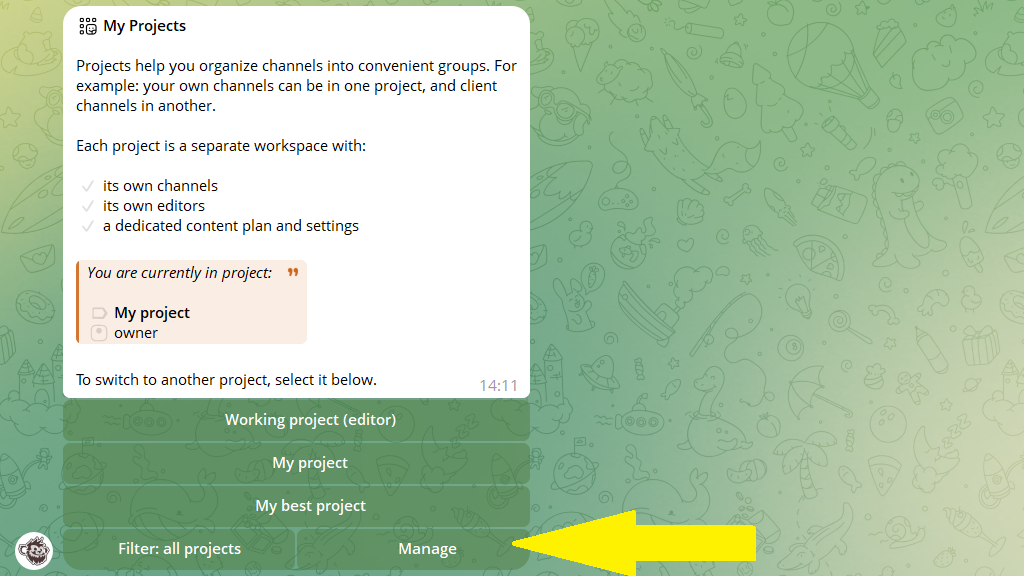
2. Send the bot the project name.
3. After that, the Connect channel and Connect group menu opens. Connect the ones you need.
How to rename a project
My projects→Manage→Rename project.- Choose the project you want to rename from the list.
- Send the bot the new name.
A project can only be renamed on your own account. If other editors work in this project, the name stays the same for them.
How to transfer a project to another user
You can transfer a project to another user only if you're the project's owner and the other user is assigned as its admin. After the transfer, you automatically swap places: the other user becomes the owner, and you become the admin.
After the transfer, the project keeps the following on both accounts:
The configured publication schedule
The content plan
The default settings
The templates
1. If the other user isn't an admin of your project yet, assign them as one. See the article: How to add new team members
2. Go to
My projects→Manage→Transfer ownership.
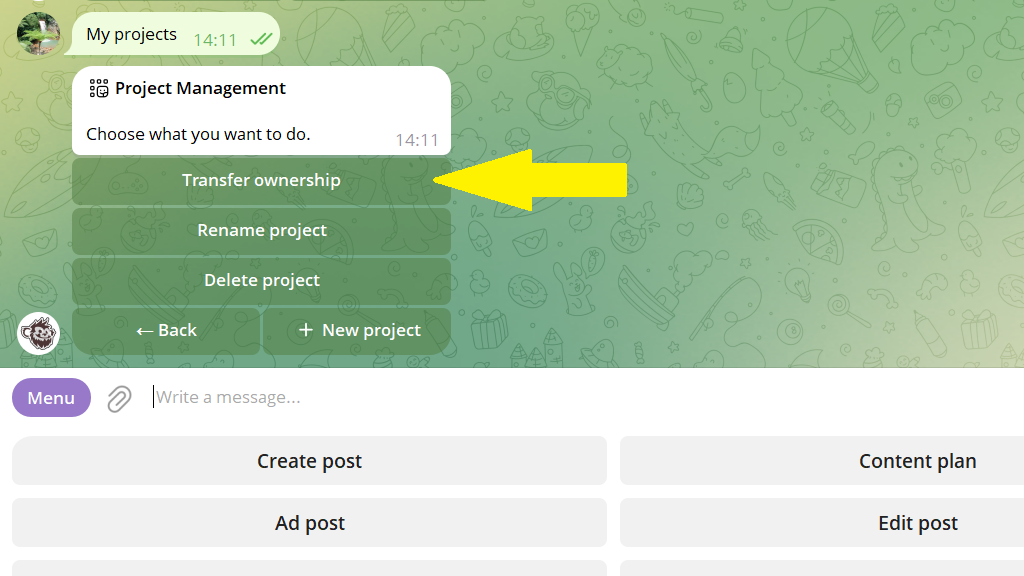
3. Choose the project you want to transfer to the other user from the list.
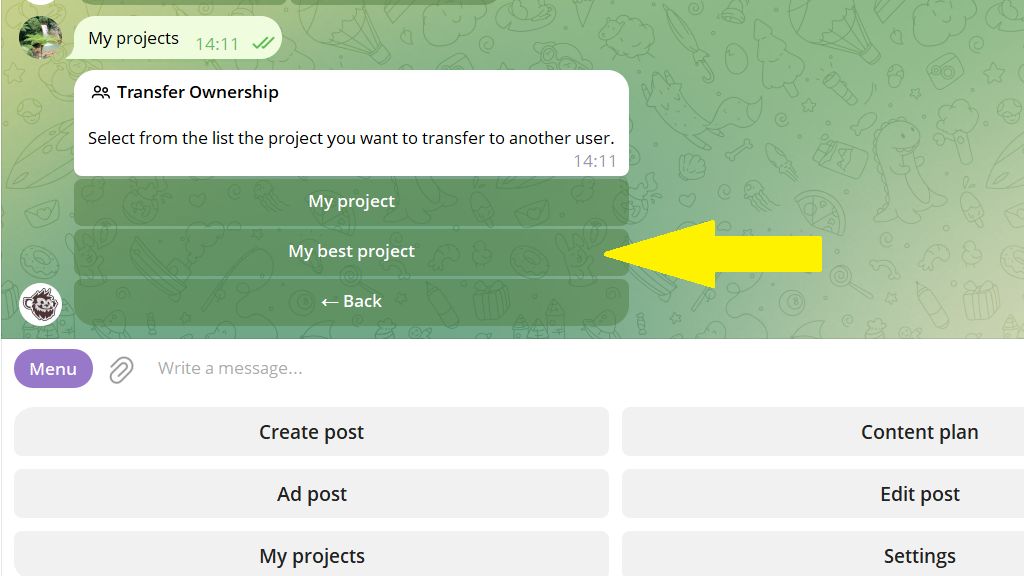
4. The bot shows a list of the project's current admins. Choose which of them to transfer ownership to.
5. Confirm the transfer.
